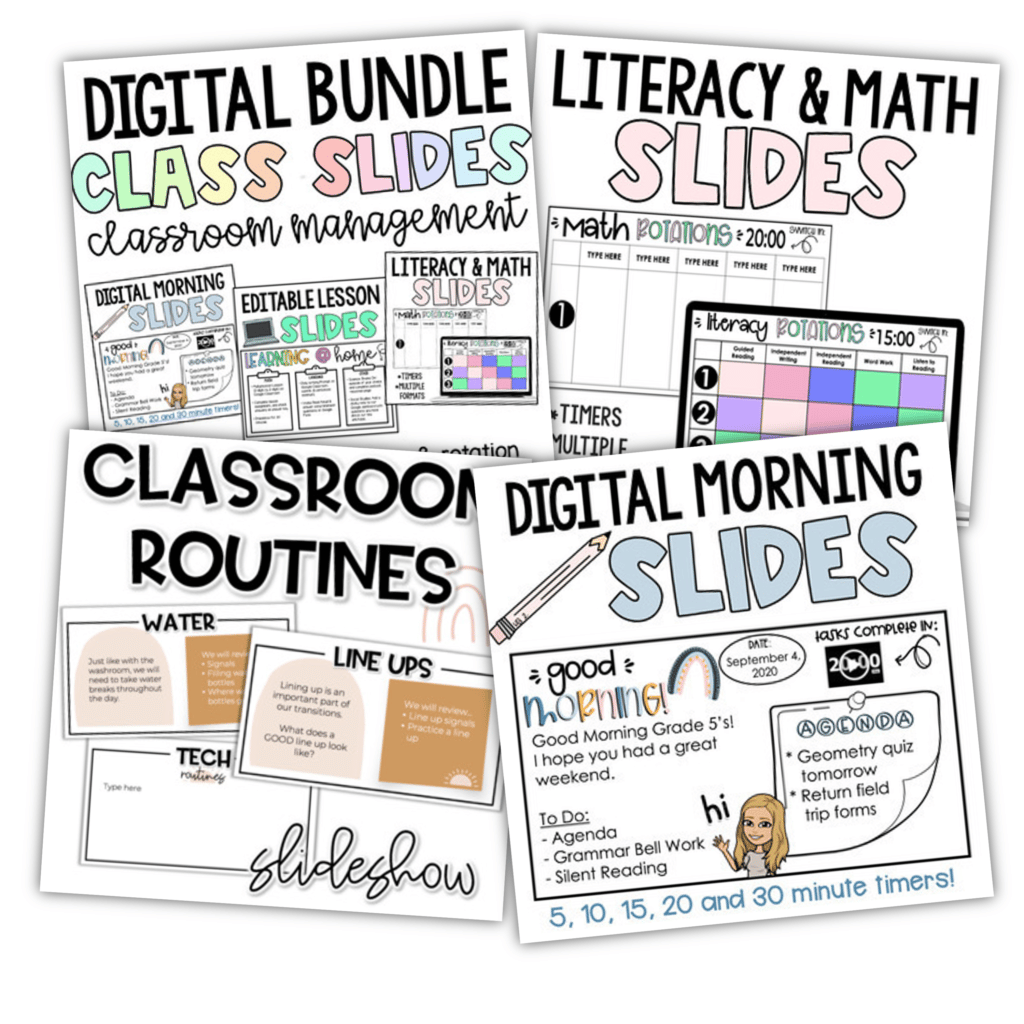
Hi Friends! This blog post is going to cover two main ideas. Either, you are leaning into Distance Learning and ready to create your own digital resources for your class, or you are ready to take the leap on selling digital resources on Teachers Pay Teachers. One way or another, I’ve got you covered. This post is going to go over ALL of the things you need to know to be confident in this digital world.

PLATFORM: GOOGLE SLIDES
First things first… stop using Google Docs. Just kidding, kind of. Google Docs is great for a quick and simple worksheet but not something commonly sold on TPT. Anything I create for my students or my store that I want to be interactive is created in Google Slides. Google Slides allows you to manipulate text boxes, clipart, shapes, etc., far more than you can in Google Docs.
MAKE IT PRETTY
I’ve had many people ask how I get purchased fonts into Google Slides and the unfortunate answer is that it’s possible, but it requires more work. Google doesn’t allow you to download your fonts into it’s platforms like you can on your own computer, but there are two work-arounds that you can use to get your documents looking PRETTY.
Method 1: Create in PowerPoint First
Your first option is to create your worksheet or slideshow in PowerPoint first. Essentially, you will want it to look like the end product minus the interactive elements you will be adding into Google Slides after. Watch the video tutorial, or follow the steps below.
Step 1: Type out the title/heading you want on a PowerPoint Slide (make sure it’s significantly bigger than you plan on having it in Google Slides)
Step 2: Click on the outside of the text box so that it is outlined/selected. You shouldn’t see the flashing line that shows you can type!
Step 3: Right click on the outline or simply click CTRL/CMD and C on your keyboard.
Step 4: Go into your Google Slides page and paste (CTRL/CMD V).
Step 5: This has inserted the text as an image so it is not editable as text, but you can move it around and change its size if needed!
TAKE IT TO THE NEXT LEVEL
There are a few things you can add to your resources to elevate them and make them more appealing for your students and for potential buyers.
Instruction Boxes for Students I ALWAYS add a little instruction box on the side of my documents. I simply insert a regular text box, drag it to the outside of the page (so that it’s not actually on the slide) and change the background colour to catch their attention.
In these boxes I will give them instructions or tips on what they are supposed to do for the assignment, and I will provide them some keyboard shortcuts for what to do if they come across a roadblock. For example, what to do if you accidentally delete a text box. Or, how to change the size of your text if you don’t have enough space to write.

VIDEOS
I love inserting videos into my slideshows for students. If you have a video you’d like them to watch from YouTube, it’s as easy as clicking “Insert” and “Video”.
If you are creating a video yourself to put in, there are a couple of extra steps!
Creating a Video: Computer
There are a few ways to create a video for your students. The most obvious one would be just recording yourself giving instructions which can be done from your computer or phone. Another option would be recording your computer screen if you are teaching students how to use a resource, navigate a website, or anything of the sorts.
QuickTime Player (Mac Users)
To take a video WITH audio of your screen, you can use QuickTime Player (Mac users should have this downloaded). All you need to do to activate QuickTime screen record is press and hold down: SHIFT, COMMAND, 5. This screen recorder allows you to change the capture area of the screen and allows you to choose if you want the audio recorded or not. Simply click “Options” and select the microphone setting you want. Once your screen recording is complete, you will want to transfer that file into Google Drive.
ScreenCastify
If you do not have QuickTime, you can use ScreenCastify. Here is great video explaining how ScreenCastify works: https://www.youtube.com/watch?v=v7uScletiPc
Google Meet
You can also use Google Meet to record your screen. Simply, start a meeting with yourself and once you are in, click “Present Now”.
Then, make sure you have all of the tabs/documents open that you are wanting to share with your students. When you’re ready, click the 3 dots on the right hand side, and select “Record Meeting”. Google will automatically record your screen (since you clicked present now) and your voice instructions. When you’re done, click the 3 dots again and click stop recording.
This will automatically save as a video in your Google Drive meaning it is ready to be uploaded into a slideshow!
Creating a Video – iPad
If you want to create a video of you teaching a lesson on an iPad, you can use a couple of different methods.
Explain Everything $
This is a monthly subscription based app that turns your iPad into a whiteboard, notepad, chalkboard, etc., that you can write on while it records the screen (what you are doing) and your voice instructions. Explain Everything is AMAZING because it allows you to choose your export options. You can either export it as a video file, or as a link which is perfect if you are posting to Teachers Pay Teachers. Some districts have blocks on what videos their students can view so having a link to a safe video website can save you a lot of potential stress with buyers.
Screen Record
If you aren’t ready to spend the money on Explain Everything, you can take a screen recording of your iPad screen as well. Simply open up notes or another app that allows you to write freely and click and HOLD the button circled below.
By holding it down, you will be able to choose whether the microphone is on or off, allowing you to have spoken instructions included in your video as well.
Once you are done, upload the video file into Google Drive and then you will be ready to insert it into a Slides document.
Inserting a Video You’ve Created:
If you’ve recorded yourself or your screen from your computer/phone/device, you need to upload it to your Google Drive before you can insert it into a Google Slideshow.
*Make sure your sharing settings on the video are set to “anyone can view” or else you will have students constantly requesting access to the video.
SHARING YOUR RESOURCES
This is probably the most IMPORTANT message of all. If you are sharing your resources with co-workers or if you are selling your resources on TPT, you need to ensure you have the correct Share settings on.
To share a resource and ensure that your original does not get edited, you want to do the following:
Step 1: Click Share
Step 2: Click Change
Step 3: Click “Anyone with the link” and “Viewer”
Step 4: Copy the Link
Step 5: FORCE A COPY


ONCE YOU HAVE COPIED YOUR LINK, YOU MUST DO THIS LAST STEP:
https://docs.google.com/document/d/fJ_rptwNX9m6mwmWnpUPali7xFawIzqDlW78yeoNg/edit?usp=sharing
Erase the word “edit” from the link and replace it with “copy”.
Always, ALWAYS, ALWAYS double check this link before you share it with anyone. When you click it, it should take you to a page that says: “Would you like to make a copy of…”. If so, that means it worked. If the link is broken, go back and check that you didn’t accidentally misspell “copy” or erase the / or ? from the link.
If you are uploading to Teachers Pay Teachers, you can include this link in a Digital Download page and that will ensure teachers who are downloading your resource are creating their own copy of it, rather than typing into your original!
If you made it here, congratulations. I am impressed. As always, if you have ANY questions about these tips or anything I haven’t touched on, please DM me on Instagram. I am happy to help.
https://www.instagram.com/lessonsforlearning
Happy creating!