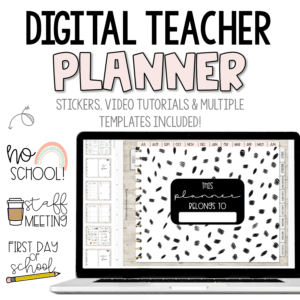


For a while, I thought I would NEVER be a digital planner person. I enjoyed picking out a new planner every year and writing paper-to-pen style. That was until I realized how efficient I could be using a Google Slides planner. If you have been thinking about getting started with a digital planner, keep reading for all my tips!
Hyperlinked Tabs & Index Page
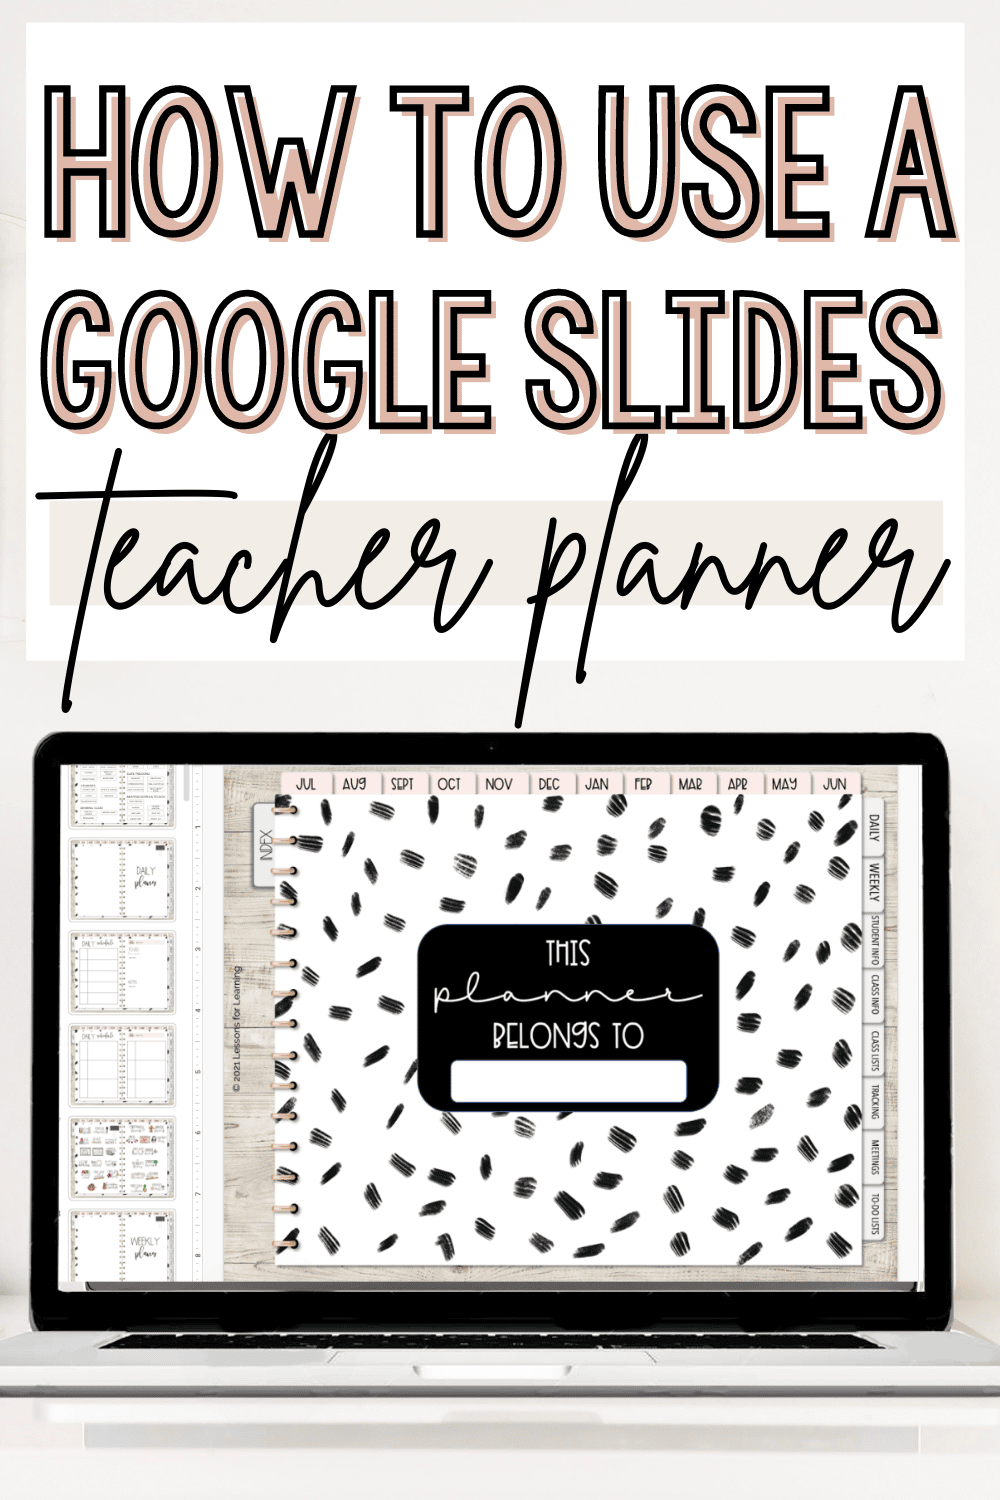
Most Google Slides planners come with tabs and/or an index page that is hyperlinked. This means that just like with a paper planner, you can use the tabs to skip to any page or section of your planner with one click. The best part is that in my planner, I have hyperlinked the tabs to cover pages – meaning you can delete any of the templates you do not need WITHOUT breaking the link.
Digital Stickers
Digital stickers are a FREE, environmentally-friendly way to personalize your Google Slides planner. In both of my planner listings on TpT, I include 25 digital stickers that you can use and re-use year after year. To use a digital sticker, simply go to the sticker page, select the sticker you want to use, copy it and then paste it on your planning page!

Google Slides Planner Pages
For lesson planning, you can use either the daily or weekly spreads. In my planner listings, these are editable to suit your schedule. You can customize them further by using the paint bucket tool to color-code subjects.
Once you create your lesson-planning spread, you can use that as a template and duplicate it week after week. This saves you time and allows you to get right to the ACTUAL planning. In the video tutorial, I share more specific tips on what this looks like.
When the week is over, you can delete the slide or right-click on it and select “move slide to end”. This allows you to keep all of your plans while being able to access your current day/week more quickly.
Searching Your Google Slides Planner
Teacher planners usually come with a number of templates, which is amazing. The only issue is that sometimes that can be a little overwhelming and make it difficult to find what you are looking for. This is where the REAL benefit of using a Google Slides planner comes in – the search feature.
If you hit “ctrl/cmd + f” on your keyboard when you have your planner open, you will see a search bar pop up in the right-hand corner. You can type anything into this bar (e.g., a student’s name or a date) and Google will find and filter out all of the slides where that search term appears. This means you can locate specific lessons, dates or notes within a few seconds. No more flipping through 101 pages.
Ready to Try It?
Click here to watch the video tutorial on my Neutral Google Slides planner or click the image below to check out the listing on TpT.