


If you have been thinking about selling on TpT but don’t know where to begin with your storefront, fear no more. I am here to walk you through all of the necessary elements for a storefront the SELLS. That’s the goal, right?
This is perfect for beginners or sellers who are looking to rebrand and take their business to the next level.
Alexa, play “Level Up”. ?
I am sharing the details and not-so-secret secrets to creating a storefront that people are excited to shop from.
Selling on TpT: Why your Storefront Matters
I know it seems daunting to put time into creating a beautiful storefront. Especially when that task doesn’t feel like it puts any $ into your pocket like posting a resource might. However, I always say this: if you are shopping on TpT and come across a product from a store that doesn’t have any (or many) reviews, what helps you decide if you are going to buy the product?
The obvious answers are the product cover, thumbnails, preview, and description. The often overlooked answer is the storefront itself.
If I come across a storefront that looks like it has been thrown together… I am going to assume that reflects the buyer’s approach to creating products as well. Rushed, sloppy and with no attention to detail. NOT what we want our buyers to think.
By taking the time to put together a cohesive, beautiful storefront, you are showing your buyers that you take your TpT store and business seriously. Selling on TpT is not a “get-rich-quick” strategy. If you treat your store like a business, buyers will be more willing to take the risk on purchasing from a new seller.
How to Create the Perfect Storefront
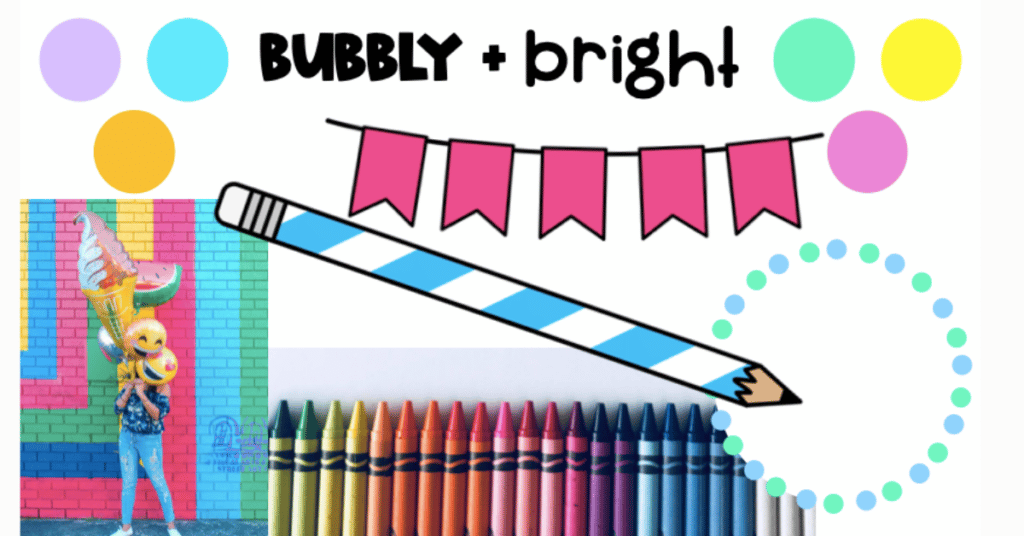
Step #1: Mood Board
The first thing you want to do is create some sort of mood board or vision board for your store. This is branding 101 and something many teachers tend to skip out on. Open a PowerPoint document and start searching through the places that typically get you feeling inspired personally or professionally.
Looking at other TpT seller storefronts can be helpful, but do not copy what someone else is doing. People shopping want to see YOU and what YOU offer, not someone else’s brand colours and fonts repurposed.
Once you have photo inspiration, use the eyedropper tool to pull out some colours that you think work well together. I suggest having 4-6 colours but this varies for everyone.
Then, pick 1-3 fonts that you’d like to be your main brand fonts. That does not mean they need to be used in all products, just in your storefront and/or marketing. Take a look at one of the examples I provided to the members of my course, TpT Business Builder, below.
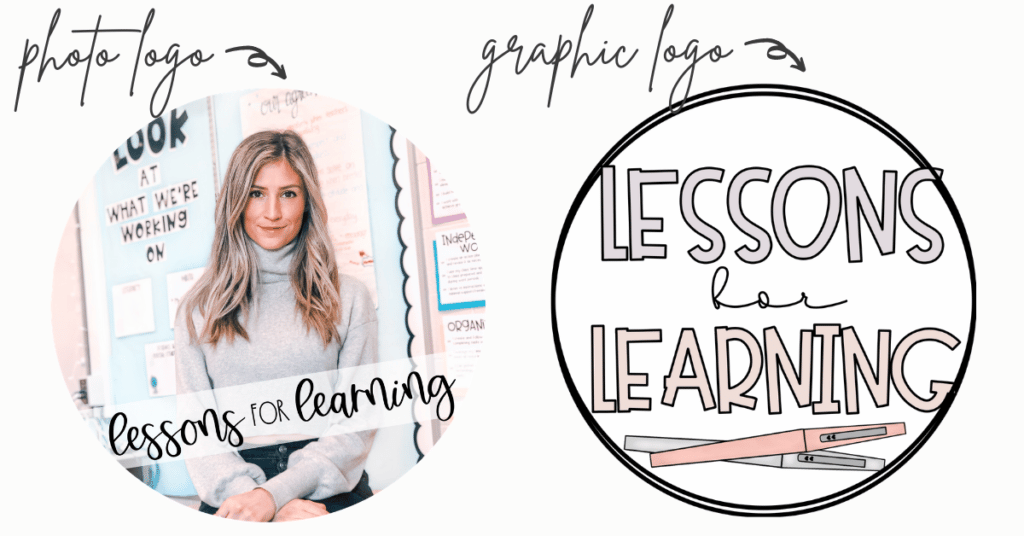
Step #2: Create a Logo
Once your mood board is *complete*, the next steps will be relatively painless. In order to create a logo, you will first need to decide whether you want an image logo (e.g., photograph of yourself) or a graphic logo (e.g., text/clipart).
The easiest way to create a logo is to use PowerPoint or Canva. Canva has a number of pre-made logo templates you can start with and add your own touches to. You can also import your own clipart!
I chose to use PowerPoint to create both of my logos, simply because that allowed me to access all of my fonts. Start with a presentation and change the page layout/set-up to be a square (25cm x 25cm works well).
Insert a circle and start playing around with different font pairings and colour options. Once you are happy with your logo, follow the steps listed below.
- Highlight everything (click, hold and drag the mouse over the full area until everything is highlighted)
- Right-click and select “Save as Picture”. That’s it!
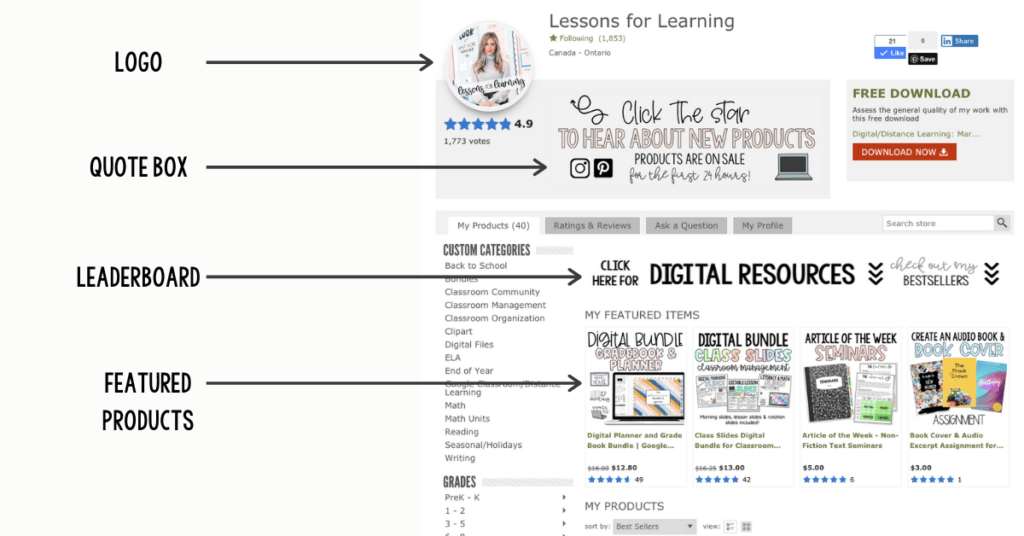
Step #3: Quote Box
The “quote banner” is the section of your store that goes right next to your logo. The neat thing about this is that TpT allows you to add a hyperlink to it making it “clickable”. You can link it to a product line or bundle that sells well or use it as a space to remind buyers to follow you.
For example, your text could read, “click the star to get the latest updates on my new products”. Or, “click here for distance learning resources”.
Ideal Dimensions: 11.9cm x 3.96cm
Want it to blend in with the grey background? Use the hex code: #f1f1f1
Step #4: Leaderboard
This part of your store is optional at the beginning, but I suggest you include it when you have a few products up. The leaderboard sits above your “featured products” section and can also be hyperlinked.
I suggest keeping this simple and using it to direct buyers to a specific product line or bundle. Ultimately, you don’t want too much going on because we want the focus to be on the products themselves. Remember, TpT does not want you to point buyers AWAY from the website, so make sure whatever you are linking is within TpT itself.
Ideal Dimensions: 19cm x 2.9cm
Click here for TpT’s FAQ on Banners!
Ready to Start Selling on TpT? Let’s Create a Storefront!
Hopefully, you are now feeling inspired to create a storefront that truly represents you and the kind of teacher-author you are and are looking to be known as. With a mood board, new logo, quote banner, and leaderboard you will be ready to start selling on TpT and take this business by storm.
Selling on TpT… want more?
Click below to access my FREE 5-step Guide to Selling on Teachers Pay Teachers.
Other blog posts you may enjoy:
Your Guide to Selling on Teachers Pay Teachers
How to Create Digital Resources